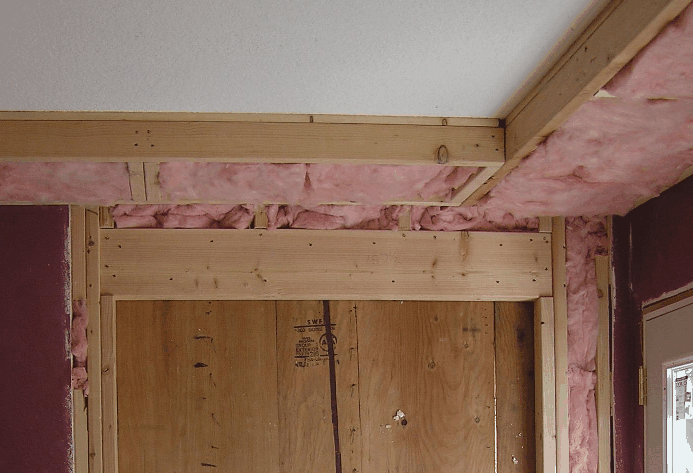
Here are two pictures of walls and ceiling before starting...

The HVAC and one of the main structural beams are in this soffit. I am adding lights and making it look more integrated into the overall plan.

After putting all the layout marks on the surfaces, I started by nailing 2x3's to the ceiling . I put poly glue on these, and once in place I added 3" screws about every 3 feet. This might be over-kill, but I don't want these ever coming loose.
I like using 2x3's for this. They are straighter than 2x2's and are quite a bit lighter than 2x4's.
Once these where in, I hung OSB off of them. These are only stapled in place. When I put the sheetrock on, the nails will go through the OSB to the wood.
I needed to run the video cable (RBG) from the tuner to the projector, through the soffit. I decided to put it in a 2" PVC conduit. If I ever need to change the cable (probably to HDMI at some point) this will make it much easier. I needed to get this into place before putting the bottom of the soffits in.
This assembly is the for the bottom of he soffit. Once put together, I just slide and nail it in.
Here is one of the bottom units with the recesssed light holders in place.
Here is the soffit bottom put into place - nailed to studs and stapled to OSB.
I was able to get about 80% of this framed today. I will finished it out tomorrow and wire the lights.
Here is the final floor plan...
 These were glued and screwed together, then attached to the ceiling as shown here. The 1x3 flanges allowed for easy nailing to get them up there. I added 2 1/2 screws on both the flange and the outsides. In addition, I used construction adhesive to help minimize movement later on.